OBD-II MULTIFUNCTION TOOL WITH INTEGRATED SUPPORT
- MINI R60/R61 -
THE KIT INCLUDES:
- 2x M4x20 mm screws
- 3x small black plastic cable ties
- 1x printed stand with integrated multifunction tool
- 1x Mini USB - OBD cable
- 1x multifunctional tool instruction manual
EQUIPMENT REQUIRED FOR ASSEMBLY:
- Small Phillips screwdriver
- Small Torx screwdriver
- Scissors / cable tie cutter
WARNINGS:
- Handcrafted product, the following photos are for illustrative purposes
- We are not responsible for incorrect assembly, it is recommended to contact professionals
- Do not rely solely on data collected by the OBD-II multifunction tool to protect your engine and vehicle
- It is advisable to read the assembly instructions before starting the installation
1. Removing the tachometer
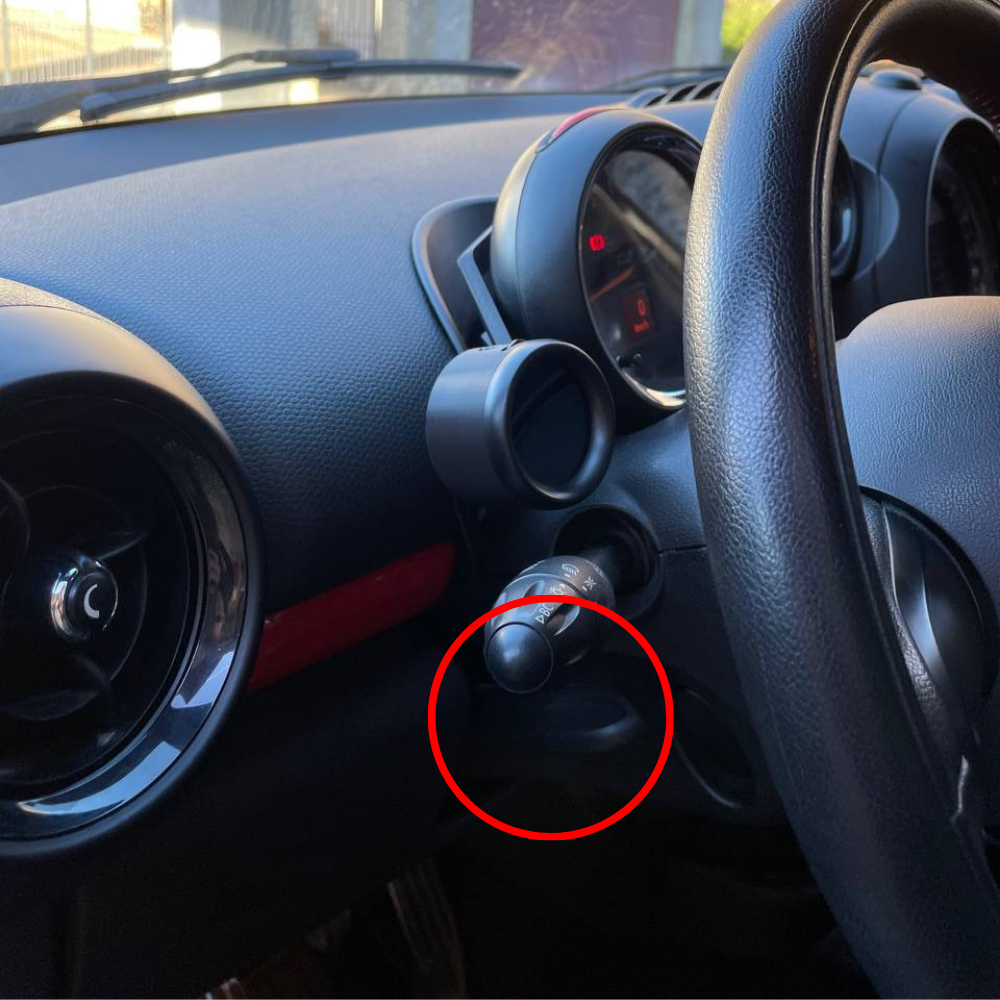
- Lower the steering wheel and bring it completely towards you using the appropriate lever on the left
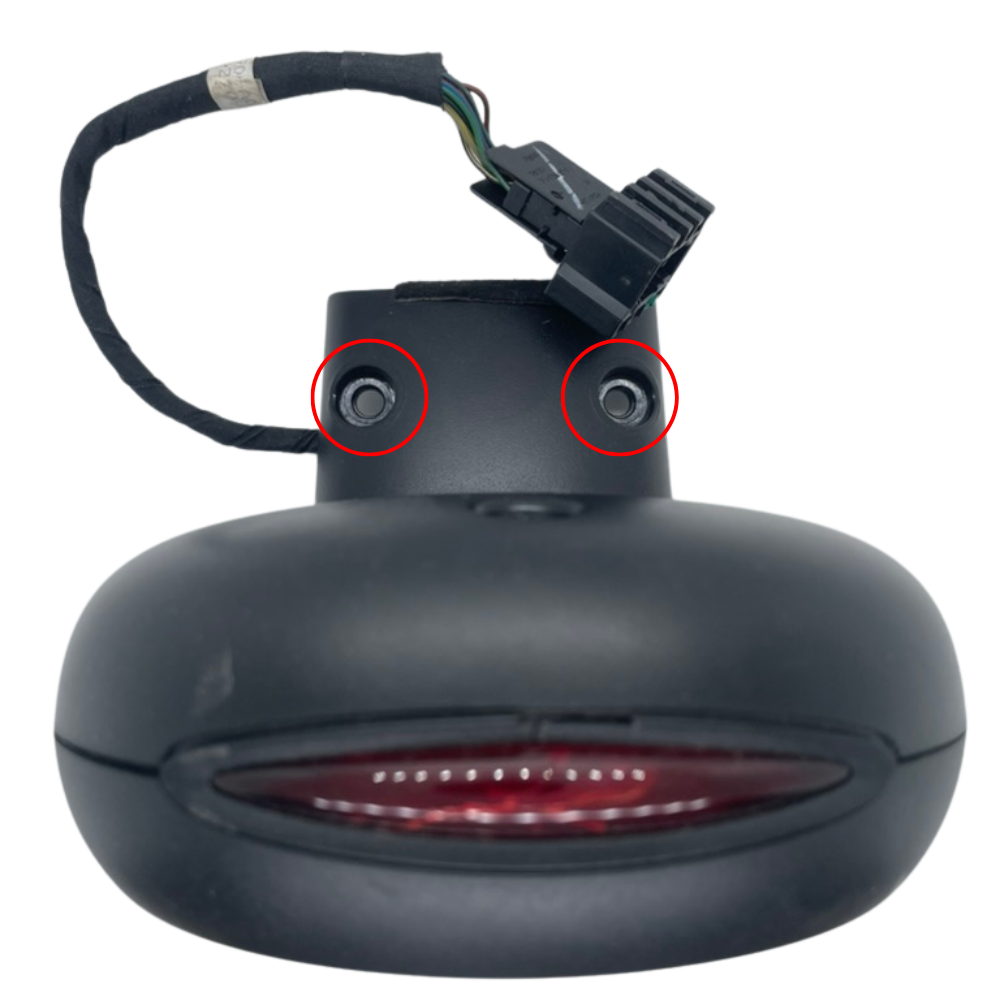
- Using a Torx screwdriver, unscrew the two screws located behind the odometer (position indicated by the red arrows in the photo)
- Subsequently it will be possible to remove the display from its seat by pulling it towards you
2. Positioning of the wiring
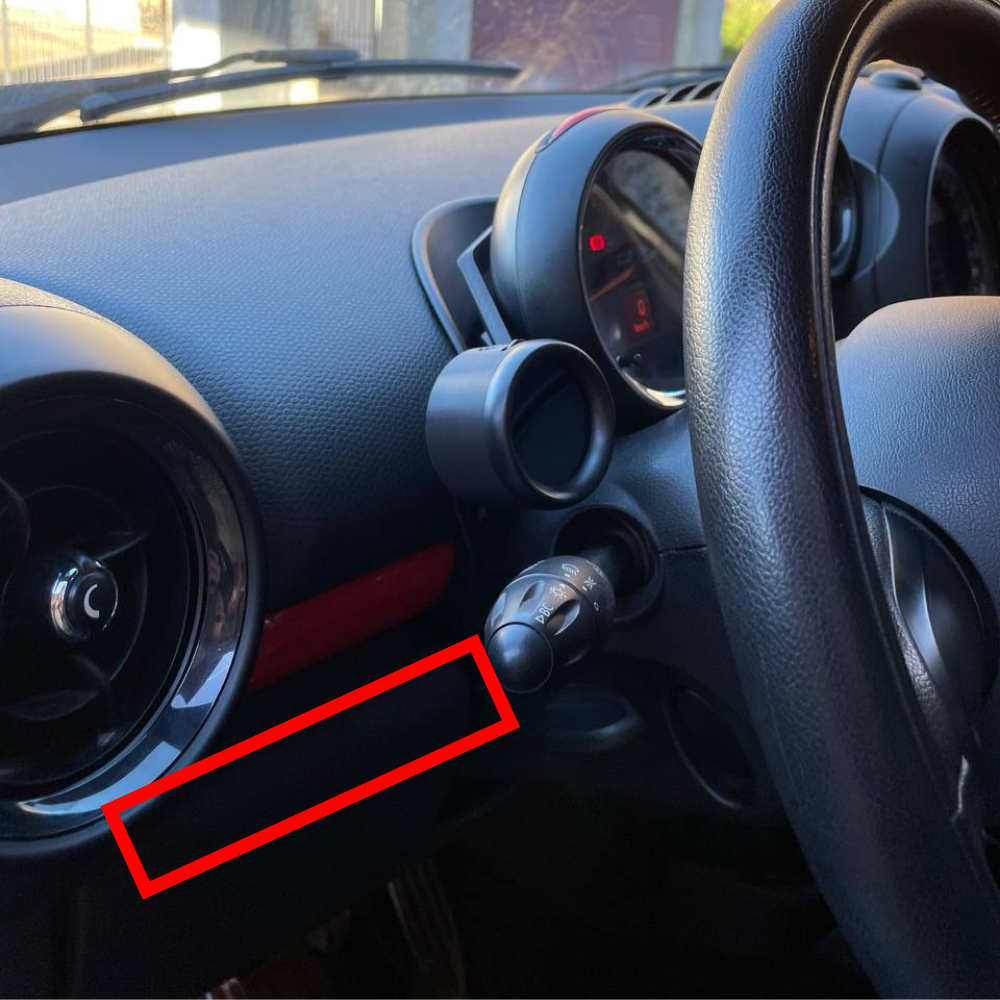
- Firmly pull the cover (highlighted in the photo) located under the plastic molding towards you so that the upper part releases from the rest of the dashboard

- Insert the OBD connector towards the pedals through the space created and help yourself from underneath by extracting all the wiring
- Make sure to leave about 12/15 cm outside the released plastic so that the connection with the instrument is facilitated
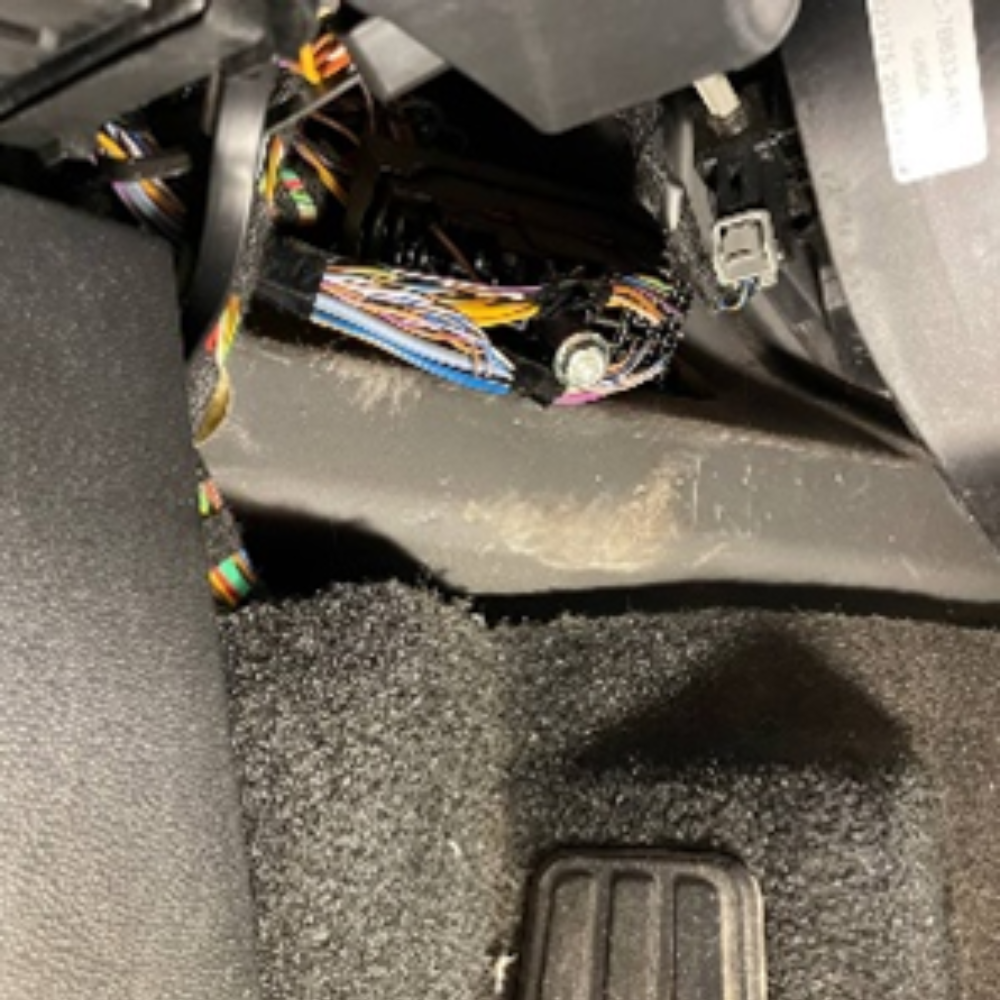
- Connect the OBD connector and arrange the remaining part of the wiring using the cable ties supplied
To avoid the risk of entanglement, do not leave the cable exposed above the pedal board. Take care that the cable does not interfere with the steering wheel adjustment lever and that it is not damaged during adjustment.
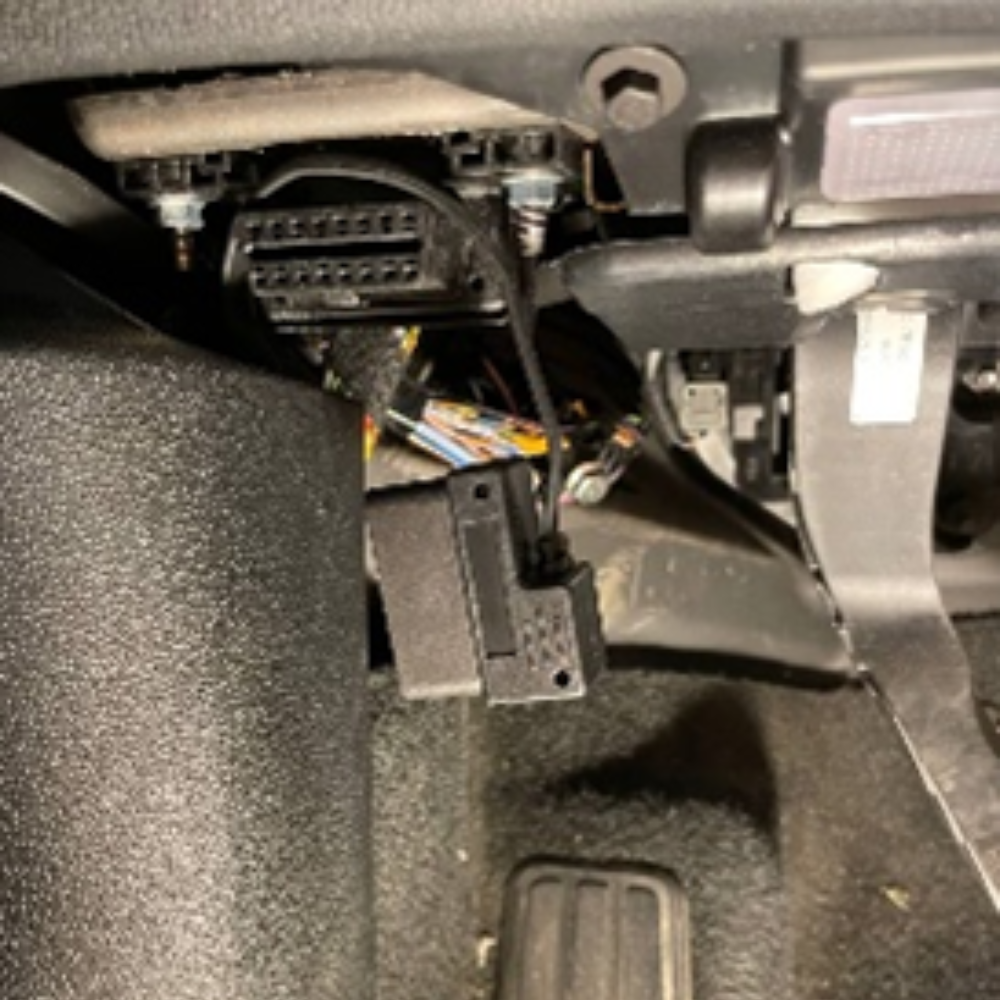
- Once the cable has been properly arranged, the connector must be removed from the OBD socket
It is necessary to temporarily disconnect the connector from the OBD socket to avoid connection problems between the car and the multifunction tool. The connector will be connected to the OBD socket only at the end of the installation procedure
3. Mounting stand and multi-function tool
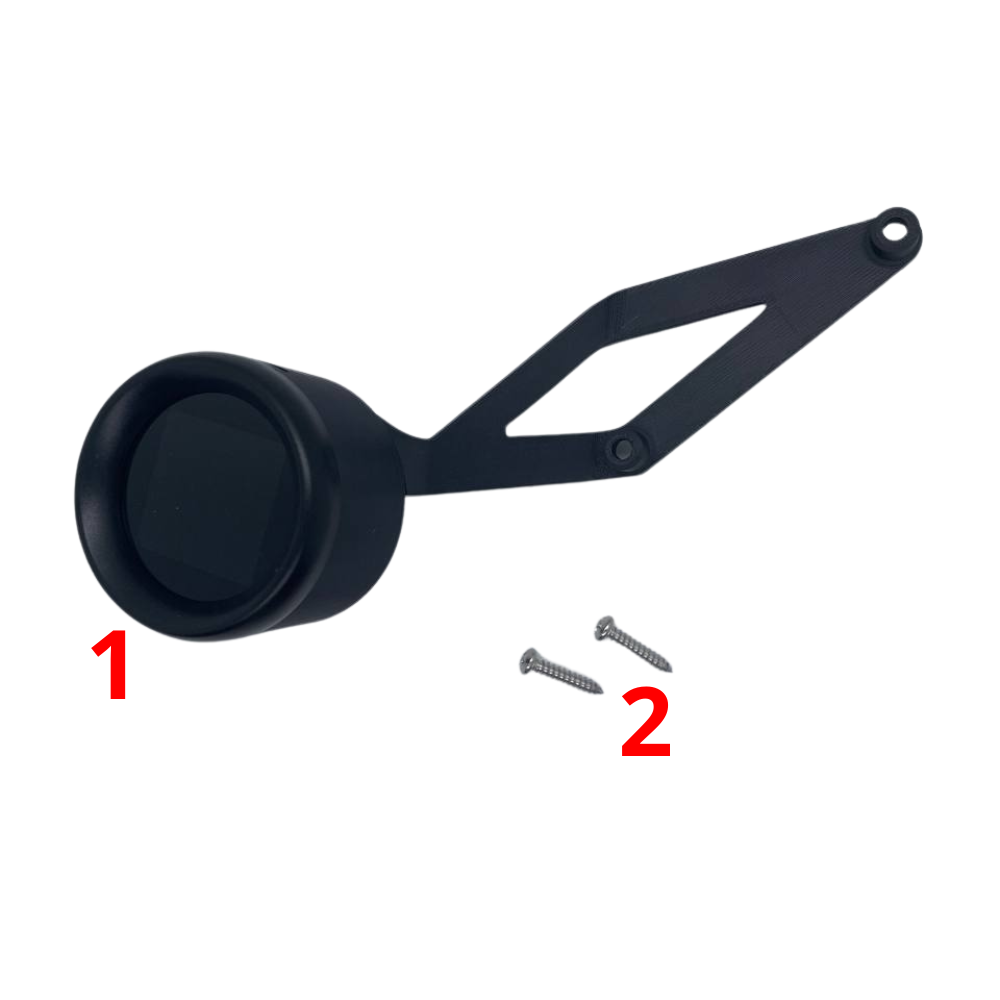
- The kit contains the OBD-II multifunction tool with integrated support (1) and the respective fixing screws (2)

- Using a Phillips screwdriver, remove the two screws marked with red circles in the photo. The two screws will be at the top and on the left side respectively (looking at the display from the front)
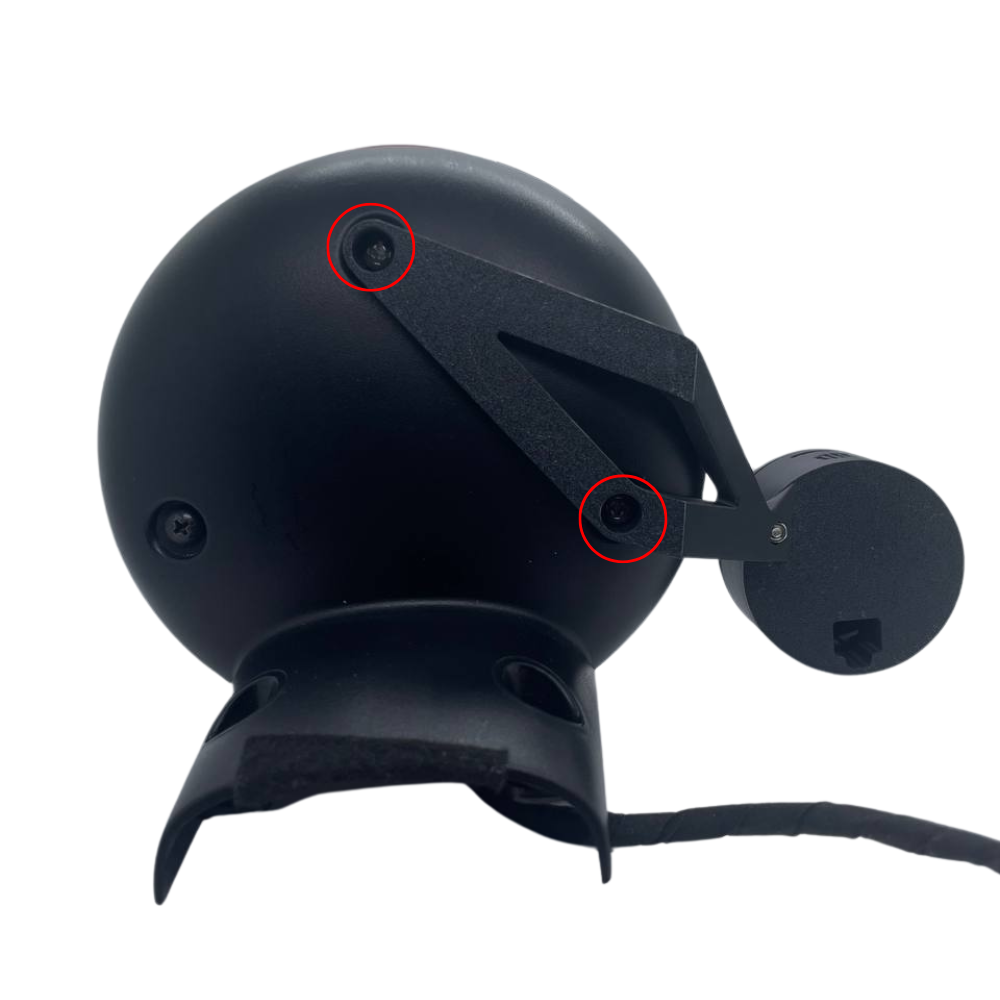
- Position the multifunction instrument by inserting the two pawls inside the odometer seats
- Now screw in the two star screws supplied with the product
The screws supplied are suitable for the threads on the odometer, therefore do not overtighten, risking causing damage to it.
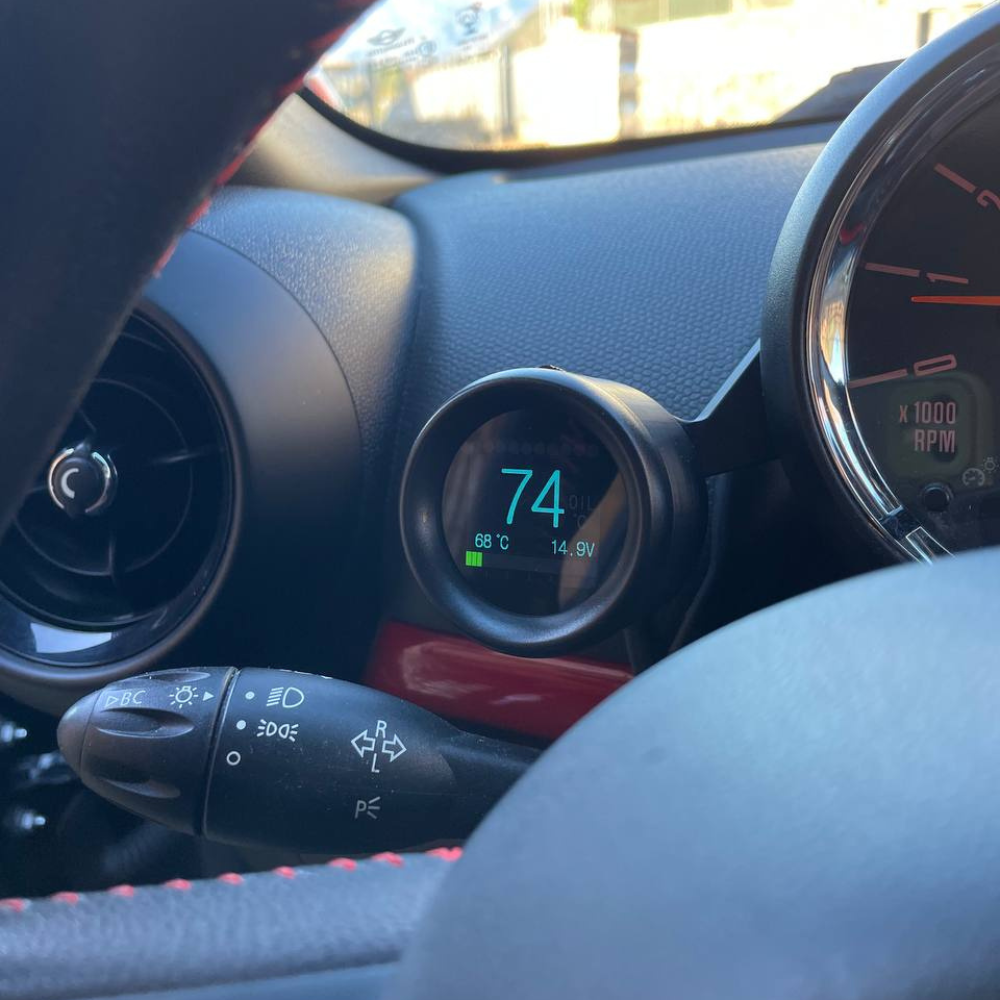
- Insert the Mini USB cable into the rear seat of the instrument support and place it behind so that it cannot be seen
When inserting the Mini USB cable, make sure that the widest part of the connector is facing upwards. It is also necessary to avoid straining the Mini USB socket to avoid damaging the instrument itself and the relative electronic board
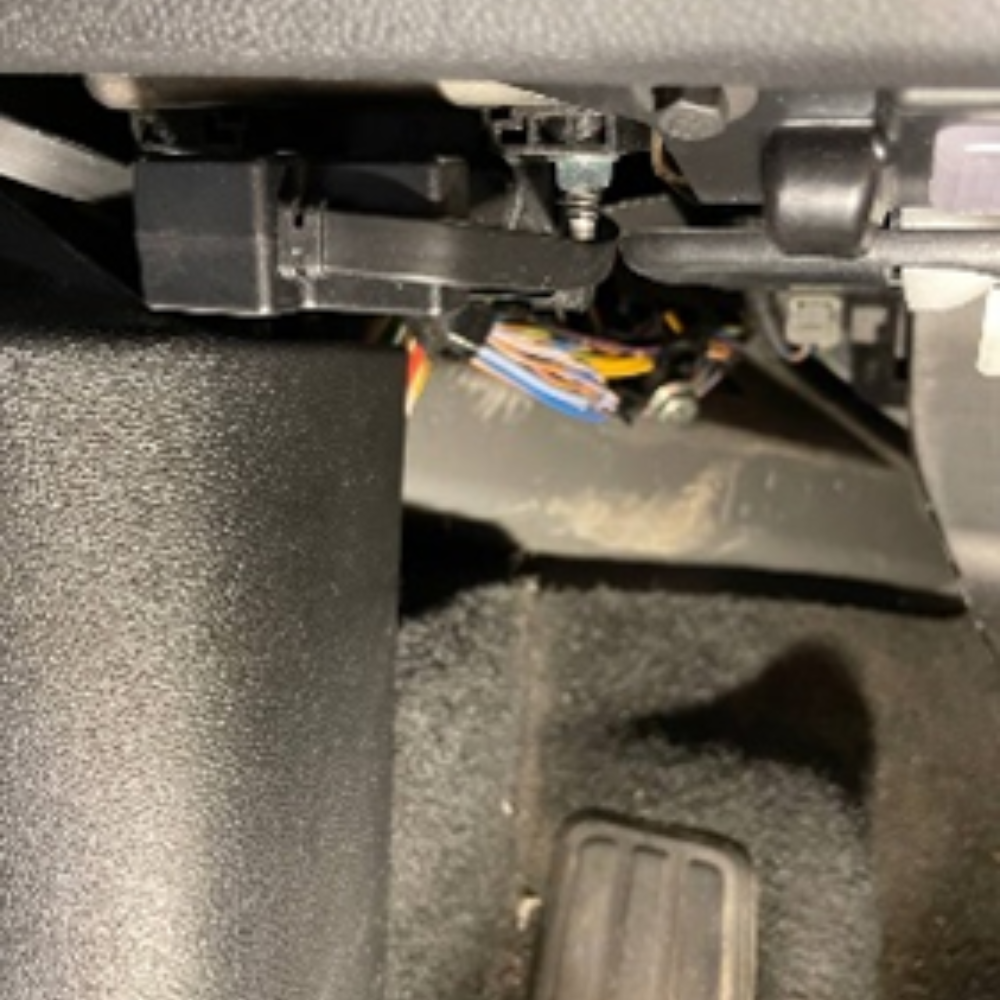
- Before inserting the OBD connector, it is necessary to start the engine and the instrument panel of the car

- Finally, definitively insert the OBD connector in the relative socket on the car


